Folder Size for Windows 2.4 Review.
Folder Size for Windows adds a new column to the Details view in Windows Explorer. The new column shows not only the size of files, but also the size of folders.
It keeps track of which folders you view, and scans them in the background so you can see complete size of all files within the folder. It's very useful for cleaning up your disk. Once you get used to having that information available, a directory listing simply looks incomplete without it!
 Download Here
Folder Size for Windows adds a new column to the Details view in Windows Explorer. The new column shows not only the size of files, but also the size of folders.
It keeps track of which folders you view, and scans them in the background so you can see complete size of all files within the folder. It's very useful for cleaning up your disk. Once you get used to having that information available, a directory listing simply looks incomplete without it!
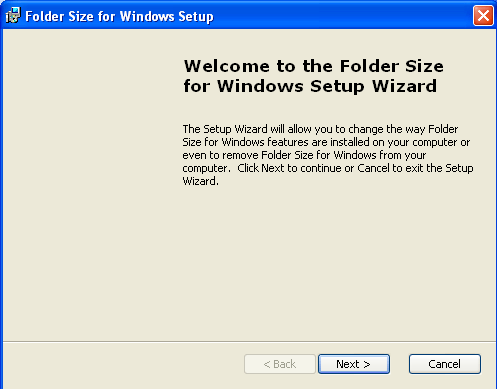
 ADD FIELD | 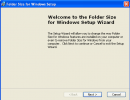 INSTALL | 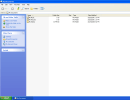 THE FIELD |


